TL;DR: Change an HVAC filter by turning the system off, confirming the correct filter size and airflow direction, removing the old filter carefully, installing the replacement without crushing it, and restoring the system. Replacement timing should follow the equipment and filter manufacturer rather than a universal calendar because dust load, filter type, pets, smoke, renovation, and system runtime all affect how quickly a filter becomes loaded.
Replacing an HVAC filter is a small home-maintenance task with an outsized effect on how well the filtration system can do its job. The process is usually simple, but the correct filter, orientation, fit, and replacement interval matter more than forcing every household onto the same fixed calendar schedule.
Know What the Filter Does and What It Does Not Do
A central HVAC filter primarily captures particles from air moving through the system. It can help protect equipment from dust buildup and, with an appropriate efficiency rating, can also reduce some airborne particles in the home. It cannot remove every pollutant, and it only filters air when the system fan is moving air through the filter.
The U.S. EPA guide to air cleaners in the home explains that HVAC filtration is a supplement to source control and ventilation, not a complete indoor-air solution. EPA also recommends selecting the highest-efficiency filter the system can accommodate, often discussing MERV 13 as a target when compatible.
Before You Start Confirm Size and System Compatibility
Read the dimensions printed on the existing filter and compare them with the filter rack or equipment manual. Nominal dimensions on packaging may differ slightly from actual dimensions, so the safest approach is to match the existing approved size or manufacturer specification.
Do not assume a higher MERV rating is automatically better for every system. A filter that creates too much airflow resistance for the equipment can affect performance. If the manual does not identify suitable filtration or you are considering a major efficiency upgrade, ask a qualified HVAC technician what the blower and filter rack can support.
Tools and Materials
Most replacements need only the correct new filter, a vacuum or cloth for nearby dust, and possibly a screwdriver if the access panel uses fasteners. A marker can be useful for noting the installation date on the filter frame, provided that does not cover printed instructions.
If the filter is located near exposed wiring, moving equipment, a burner compartment, or a difficult mechanical access area, do not improvise. Follow the equipment manual and use professional service when access is unsafe or unclear.
Step 1: Turn the System Off
Use the thermostat or equipment controls as directed by the manufacturer so the blower is not pulling air while the filter is removed. This keeps loose dust from being drawn into the return side and makes the replacement easier to handle.
If the system has an unusual control sequence, electronic air cleaner, multiple filters, or a dedicated fresh-air unit, consult the manual before opening anything.
Step 2: Find the Filter and Note Airflow Direction
Common locations include a return-air grille, a slot near the furnace or air handler, or a filter cabinet. Before removing the old filter, look for the airflow arrow printed on its frame. The arrow should point in the direction air travels toward the blower or air handler.
Take a quick photo if orientation is easy to forget. Installing a directional filter backward may reduce its intended performance or structural support.
Step 3: Remove the Old Filter Without Shaking It
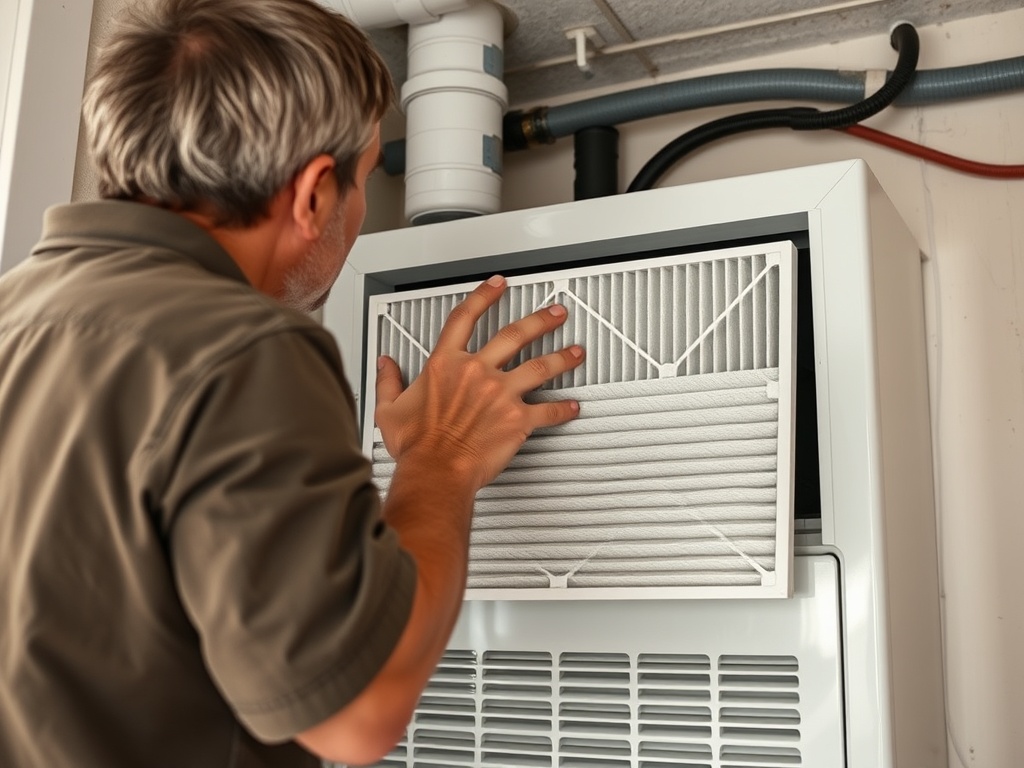
Slide the old filter out slowly and keep the dusty side from brushing against nearby surfaces. Place it directly in a trash bag if it is heavily loaded. Do not bang or vacuum a disposable filter in an attempt to extend its life unless the manufacturer specifically identifies it as reusable.
If the filter is washable or part of a permanent electronic system, follow the manufacturer’s cleaning and drying instructions. Reinstalling a washable filter while it is still wet can create problems.
Step 4: Clean the Accessible Filter Area
With the system off, remove loose dust from the filter slot, grille, or cabinet edges using a vacuum or damp cloth where appropriate. Do not push tools deep into the equipment or disturb wiring, insulation, coils, or controls.
A filter that never seems to fit snugly may indicate a damaged rack, wrong nominal size, or missing retaining hardware. EPA guidance notes that a filter should fit so air does not simply leak around it.
Step 5: Install the New Filter in the Correct Direction
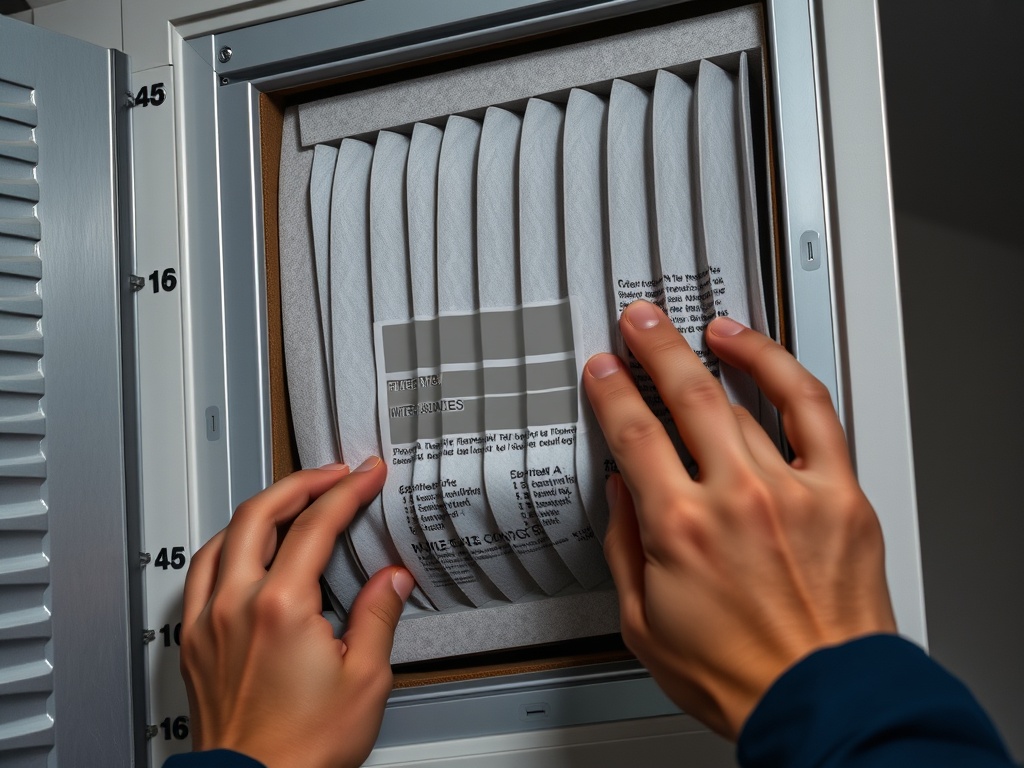
Align the airflow arrow toward the blower or equipment. Slide the filter in without bending the frame. Replace any cover or grille securely. Then restore normal system operation.
Listen for unusual whistling or rattling. A new high-resistance filter that causes obvious airflow noise is a reason to stop and confirm compatibility rather than assuming the sound is normal.
How Often Should You Change It?
There is no single interval that fits every home. EPA notes that many manufacturers recommend replacement in the general range of 60 to 90 days, but the correct interval depends on the specific product and conditions. Follow the filter and equipment instructions first.
Check more frequently when the home has shedding pets, indoor smoking, wildfire smoke exposure, construction dust, heavy cooking particles, open windows near dusty roads, or unusually long HVAC runtimes. A thicker high-capacity media filter may have a different service interval from a basic one-inch filter.
The useful habit is inspection. Look at the filter on a recurring schedule and replace it when the manufacturer says to or when loading indicates it needs earlier attention.
Signs the Filter Schedule Needs Adjustment
The filter is heavily coated well before the planned date: inspect more often and consider whether a source of dust or smoke needs correction.
The filter looks almost new after months: confirm that air is actually passing through it and not bypassing a poor fit. Also check whether the HVAC system has another filter location you missed.
Dust appears around the filter edges: verify size, orientation, rack condition, and seals.
Airflow seems weak after an efficiency upgrade: return to an approved filter and consult a technician about system capability.
Make Filter Changes Part of Broader Maintenance
A clean filter cannot compensate for blocked return grilles, dirty coils, leaking ducts, drainage problems, or neglected equipment service. Keep supply and return openings clear and schedule professional maintenance according to the equipment and local conditions.
When seasonal home maintenance includes sealing air leaks, the article on the best caulks and sealants for common home fixes can help separate appropriate small sealing jobs from locations that need a different material or professional assessment. If lawn work is happening near an outdoor condenser, overseeding a thin lawn for better coverage is also a reminder to keep loose seed, clippings, and disturbed soil away from mechanical equipment and follow the HVAC manufacturer’s clearance guidance.
Why Timing Matters More Than a Reminder Sticker
A filter changed too late can become overloaded and less effective. A filter changed far earlier than necessary creates avoidable waste and expense. The better system is to pair a recurring inspection reminder with the manufacturer’s actual replacement guidance.
Note the installation date, inspect at a sensible interval, and shorten or lengthen the check cycle based on what you find. That turns filter replacement from a generic calendar chore into a maintenance routine matched to the home.
Home-maintenance information is for educational purposes only and does not replace manufacturer instructions or professional HVAC advice. Electrical, combustion, airflow, and indoor-air-quality conditions vary by system; stop and consult a qualified technician when access, filter compatibility, or equipment performance is uncertain.