TL;DR: Overseeding works best when you first correct the reason turf became thin, create seed-to-soil contact, choose grass suited to your region, and keep the seedbed consistently moist through germination. Late summer to early fall is often the strongest window for cool-season lawns, while timing for warm-season grasses differs by climate.
A thin lawn can often be improved without tearing everything out. The practical goal is to place compatible grass seed where it can contact soil, germinate with steady moisture, and establish before weather or weed pressure becomes unfavorable.
Diagnose the Thin Spots Before Buying Seed
Overseeding is most useful when plenty of desirable turf remains but coverage has become sparse. Before spreading seed, look for the cause. Shade, compacted soil, irrigation problems, scalping, disease, heavy foot traffic, pet damage, poor drainage, or a grass type that does not suit the site can all create thin areas. Adding seed without fixing the underlying condition may only produce another short-lived patch.
The university of minnesota extension lawn-renovation guidance recommends evaluating site conditions and basic lawn-care practices before renovation. That is a useful general principle in any region, although the exact seeding calendar and grass species should be matched to local climate and extension guidance.
A simple pre-check helps: confirm how many hours of sun the area receives, test whether water penetrates or puddles, note where traffic is heaviest, and inspect the existing turf for broad areas of weeds or dead grass. If the lawn is mostly weeds or bare soil, full renovation may make more sense than overseeding.
Gather Tools and Materials That Improve Seed Contact
For a modest lawn, the basic setup can stay simple. You may need a mower, rake, seed spreader, garden hose or sprinkler, and a way to measure the area. A core aerator can help where compaction is a real problem, while a dethatching or power-raking machine is only appropriate when excessive thatch or dense surface material blocks seed from reaching soil.
Choose seed by grass type, sun exposure, expected traffic, and regional adaptation rather than package appearance alone. A blend or mixture can be useful where conditions vary across the yard. Read the seed label for species and cultivar information, and avoid assuming that the same mix is suitable for full sun, deep shade, and high-traffic zones.
If you are also reviewing your watering setup, the article on choosing the right hose length and material can help you avoid dragging unnecessary hose across newly seeded ground.
Step 1: Mow Lower and Remove Loose Debris
Mow the existing grass lower than your normal height, but do not scalp into crowns or exposed roots. The purpose is to let more light reach the soil surface and reduce competition while seedlings emerge. Bag or rake up heavy clippings, leaves, and loose thatch so seed does not remain suspended above the soil.
For cool-season lawn renovation, Minnesota Extension notes that mowing very short can help expose soil during a renovation project. Treat that as regional guidance rather than a universal mowing height; warm-season grasses and stressed turf may need a different approach.
Step 2: Loosen Only What Needs Loosening
Rake bare or crusted areas until the top surface is open enough to accept seed. Where compaction is evident, core aeration can create openings without turning the entire yard into loose soil. Avoid aggressive cultivation when the ground is wet, because traffic and machinery can compress the soil further.
This is also a good moment to decide whether the lawn problem is really a soil problem. If the ground stays sticky, hard, or slow-draining, review how to fix clay soil without overworking it before making repeated passes with heavy equipment.
Step 3: Spread Seed Evenly in Two Directions
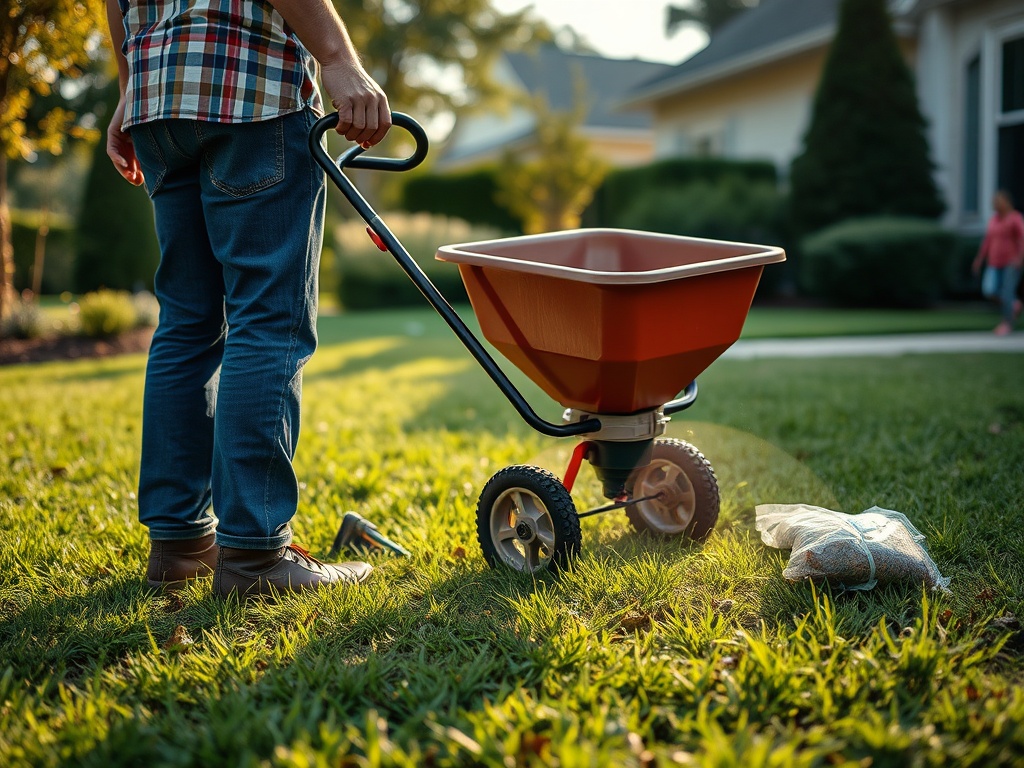
Measure the lawn area and follow the seed label for the appropriate overseeding rate. Using too little can leave gaps; applying far more than recommended can create crowded seedlings that compete for light, moisture, and nutrients. For better distribution, split the seed into two portions. Apply one half while walking in one direction, then apply the second half at a right angle.
After spreading, lightly rake the surface so more seed settles against soil. Do not bury lawn seed deeply. The exact ideal depth depends on species, but most turfgrass seed benefits from shallow placement and reliable surface moisture.
Step 4: Water for Germination Without Creating Runoff
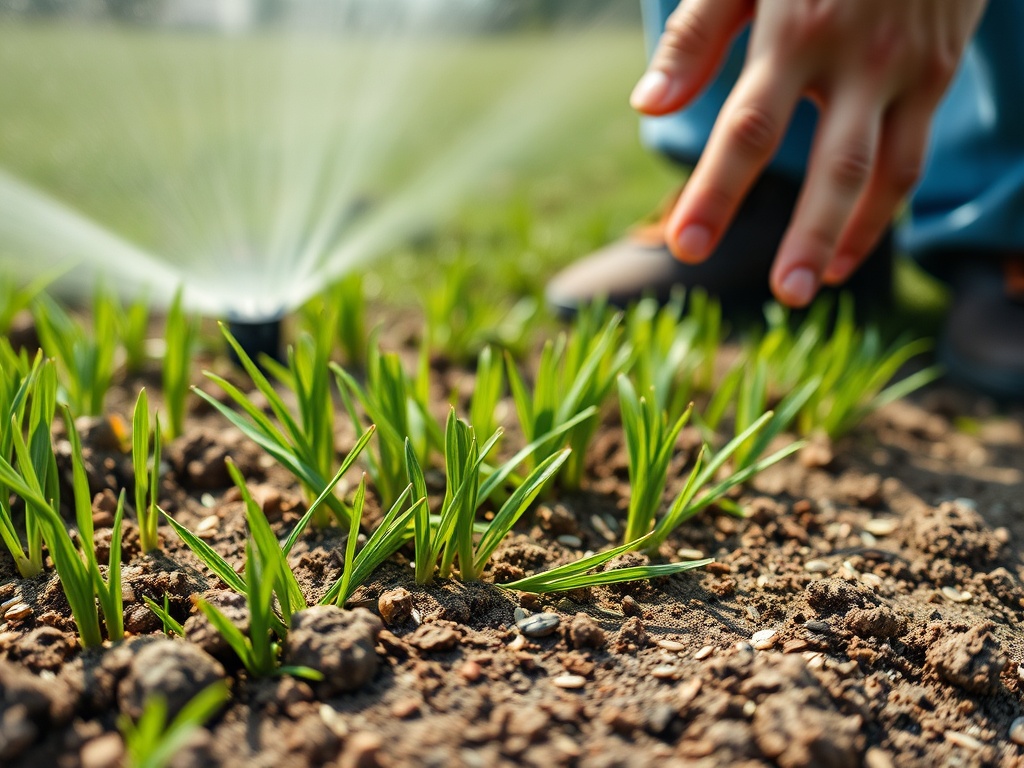
Fresh seed has a small root system and can dry quickly. During germination, the surface should stay evenly moist rather than cycling between saturation and complete dryness. That may require brief watering more than once on hot or windy days, but frequency should respond to actual soil moisture and weather rather than a rigid clock.
Once seedlings emerge and begin rooting, gradually shift toward deeper, less frequent watering. This helps move the root zone downward and reduces the habit of keeping only the top fraction of soil wet. As irrigation becomes part of the setup, keep the route simple and avoid unnecessary equipment over the seedbed; the earlier guide to hose selection can help with that planning.
Step 5: Protect New Seedlings During Establishment
Limit foot traffic while seedlings are small. Keep pets, children, wheeled equipment, and repeated hose dragging off the most vulnerable areas where practical. Resume mowing only after the new grass is tall enough to tolerate it and the soil surface is firm enough that mower wheels will not tear seedlings out.
Use sharp mower blades and remove only a moderate portion of leaf height at each cut. New turf needs leaf area to build roots. Heavy feeding, aggressive weed control, and repeated mechanical work can all add stress during establishment, so follow seed-label and local extension guidance before combining treatments.
Troubleshooting Common Overseeding Problems
Seed germinates in patches: uneven spreading, poor seed-to-soil contact, runoff, or inconsistent watering are common reasons. Rake and reseed small misses rather than blanketing the entire lawn again.
Seed disappears after a storm: heavy rainfall can move seed downhill or into low spots. On slopes, use light mulch or an erosion-control product intended for seeding, and water gently enough to avoid surface flow.
The old lawn grows faster than seedlings: mowing the established grass slightly lower before seeding and keeping later cuts timely can reduce shading. Do not let the old turf become tall enough to smother new growth.
Weeds appear with the seedlings: disturbed soil often exposes weed seed. Many pre-emergent herbicides can also interfere with grass-seed germination, so read pesticide and seed labels carefully and follow local recommendations. Never assume a lawn product is compatible with new seeding.
A Practical Overseeding Checklist
Before starting, make sure the season is suitable for your grass type, the site problem has been identified, the seed matches the light and climate, and the irrigation method can keep the surface moist. During the job, focus on even distribution and contact with soil. Afterward, protect the area, adjust watering as roots develop, and delay unnecessary traffic or treatments.
Build Coverage Without Repeating the Original Problem
After the new grass has been mowed several times, return to the issue that caused thinning. Redirect traffic, correct sprinkler coverage, raise mowing height, improve drainage, or choose a more shade-tolerant planting strategy where turf consistently struggles. Long-term coverage depends more on site fit and routine care than on repeated overseeding.
Home and garden information is provided for educational purposes only. Grass species, pesticide rules, watering restrictions, and lawn-care timing vary by region; consult local extension guidance and product labels when conditions or regulations are uncertain.