TL;DR: Clay soil is usually improved by protecting its structure, adding appropriate organic matter over time, keeping traffic off wet ground, and using mulch or raised planting areas where needed. Repeated deep tilling can make the problem worse, especially when clay is wet.
Heavy clay can support healthy plants, but it needs different handling from loose sandy soil. The most useful strategy is usually to improve structure gradually rather than trying to force the soil into a different texture in one weekend.
Start by Confirming What the Soil Is Doing
Clay-rich soil contains very fine mineral particles. That gives it useful nutrient- and water-holding capacity, but it can also drain slowly, smear when worked wet, crack when dry, and compact under repeated foot or equipment traffic. Those traits do not automatically mean the soil is “bad.” They mean the pore spaces between particles need to be protected so roots can access both water and oxygen.
Before adding amendments, observe the site after rain and during dry weather. Dig a small test hole. Does water sit near the surface for hours? Does a handful of moist soil form a sticky ribbon? Are roots concentrated only in the top few inches? A laboratory soil test can also clarify pH and nutrient conditions, which are separate from texture.
The Oregon State University extension guidance on clay soil emphasizes organic matter and careful handling rather than indiscriminate tilling. That approach is broadly useful, although amendment rates and plant choices should be adjusted to the site.
Tools and Materials for a Low-Disturbance Fix
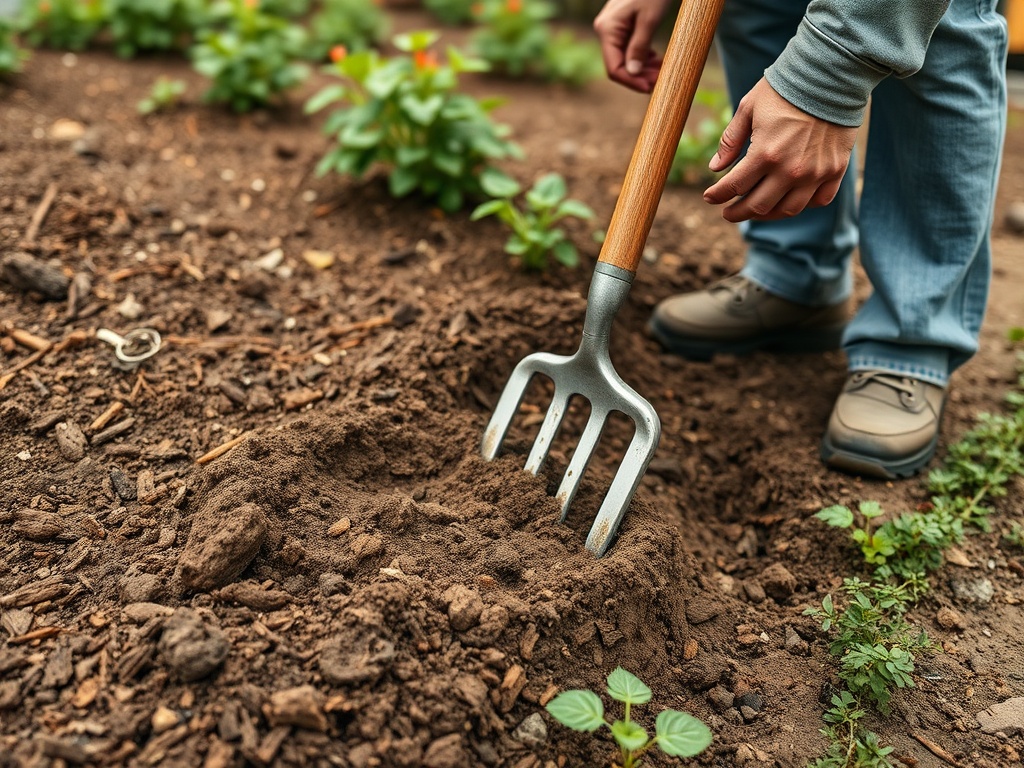
Useful tools can be simple: a garden fork, shovel, wheelbarrow, rake, mulch, and mature compost or another well-characterized organic amendment. For perennial beds, a broadfork may loosen compacted layers with less inversion than a rotary tiller. Raised beds can be helpful where drainage or access is persistently difficult.
Avoid buying large amounts of sand or gypsum on the assumption that either is a universal clay cure. Oregon State notes that adding insufficient sand to clay can create an undesirable dense mixture, while the usefulness of gypsum depends on specific soil chemistry. A soil test is a better basis for chemical amendments than a visual guess.
Step 1: Wait Until the Soil Is Workable
The fastest way to damage clay structure is often to work it while saturated. Wet clay smears, compacts, and forms large clods that can harden as they dry. A simple field check is to squeeze a handful from the working depth. If it forms a slick, sticky mass and does not break apart with gentle pressure, wait.
University of Minnesota Extension advises avoiding work in wet soils because wet conditions increase compaction risk. This is especially relevant for clay-rich beds and paths that receive concentrated foot traffic.
Step 2: Add Organic Matter Where Plants Will Use It
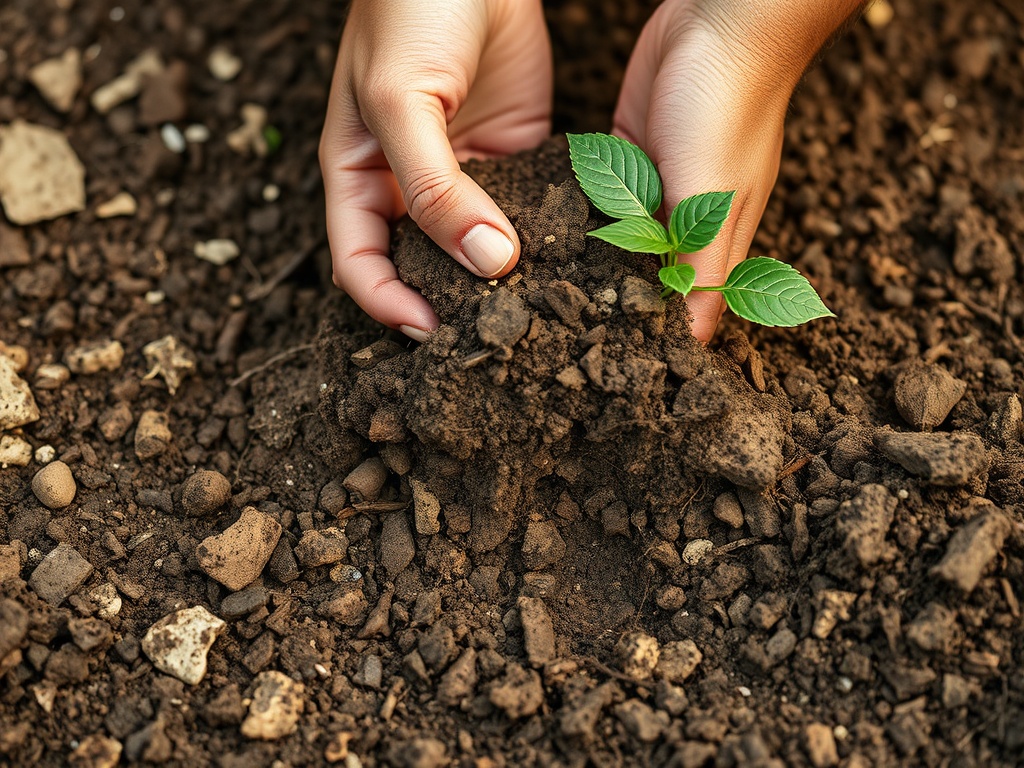
For a new annual or vegetable bed, spread mature compost or another suitable organic amendment and incorporate it only as deeply as needed to establish the bed. In an existing perennial bed, top-dressing is often less disruptive. Earthworms, roots, freeze-thaw cycles, and normal soil biology can gradually move organic material into the upper profile.
Organic matter does not change clay into loam overnight. Its value is that it can support aggregation, pore space, water infiltration, and biological activity. Apply reasonable amounts repeatedly over time rather than one extremely heavy dose. Excess compost can create nutrient or salt imbalances, so “more” is not automatically better.
Step 3: Use Mulch as a Protective Layer
Bare clay is vulnerable to surface crusting from raindrop impact and rapid drying. An organic mulch such as shredded leaves, arborist wood chips, straw appropriate to the crop, or bark can buffer moisture, reduce surface sealing, and add organic matter as it decomposes.
Keep mulch away from direct contact with trunks and crowns, and choose the material for the planting. Vegetable beds, shrub borders, and paths do not need the same mulch. If weed reduction is also a goal, weed prevention strategies that reduce weekend chores can help you combine soil protection with lower maintenance.
Step 4: Create Permanent Paths and Keep Weight Off Beds
Compaction is easier to prevent than reverse. Define where people will walk, place stepping stones where access is frequent, and size beds so the center can be reached without stepping into them. In vegetable gardens, permanent beds and paths can keep repeated traffic out of the root zone.
If you must move a wheelbarrow or equipment across the garden, wait for firmer conditions or use boards to spread the load. The principle is simple: preserve the pore spaces you are trying to build.
Step 5: Let Roots Do Some of the Work
Plant roots are part of soil improvement. Deep-rooted perennials, cover crops suited to the region, and dense seasonal planting can create channels as roots grow and decay. Plant choice should reflect drainage, sun, climate, and the actual moisture regime. A plant adapted to moist clay may be a better solution than trying to rebuild an entire yard for a species that prefers sharply drained soil.
For thin turf growing over clay, repeated aeration and reseeding may help only if the underlying compaction and drainage are addressed. The guide to overseeding a thin lawn explains how to connect lawn establishment with soil preparation.
Troubleshooting Without Reaching for the Tiller
Water pools after every moderate rain: check whether the problem is surface compaction, grading, a buried hard layer, or a naturally high water table. Organic matter can improve the topsoil, but it cannot correct every drainage problem.
The bed dries into hard blocks: maintain mulch, reduce exposed soil, and avoid pulverizing dry clay into dust. Fine particles can settle into a dense crust after rain.
Compost seems to disappear: decomposition is expected. Organic amendments are part of ongoing soil management, not a one-time structural replacement.
Plants remain weak despite better tilth: use a soil test to evaluate pH and nutrients, and reconsider plant-site fit. Drainage, light, temperature, and root disease can mimic a “bad soil” problem.
What to Avoid
Do not repeatedly rototill simply because the surface looks hard. Repeated disturbance can break aggregates and create a compacted layer below the tillage depth. Do not add construction sand by guesswork. Do not work saturated soil. Do not bury woody mulch deeply into an active root zone unless the material and purpose are appropriate. And do not assume every clay site needs gypsum.
A Better Long-Term Standard for Clay Soil
Success is not making clay feel like potting mix. A more realistic goal is soil that accepts water without prolonged ponding, supports roots through the intended planting depth, resists crusting, and remains workable during normal garden conditions. That improvement can take seasons, but it is usually more durable than repeated aggressive cultivation.
For irrigation decisions on slow-draining beds, see the best time of day to water plants in summer and adjust frequency to actual soil moisture rather than watering by habit.
Home and garden information is educational only and does not replace site-specific horticultural, drainage, structural, or soil-testing advice. Soil chemistry and drainage conditions vary widely, so use local extension recommendations when selecting amendments or addressing persistent standing water.